Matcha Macarons with Cream Cheese/Adzuki Bean Filling

As you may recall, for the past week or so, my mother has been in Japan. Her reason is a very grim one. My grandmother passed away at age 90, so mom returned to be with her family. I really wanted to go, but sadly, due to inflexible academic commitments, was unable to. As you can imagine, Mom's trip to Japan was not a very pleasant one...To welcome her home and show her how much we love her, I surprised her by baking one of her favorite treats: matcha macarons with cream cheese filling.
My mom is a macaron-aholic. She is a bit of a picky eater when it comes to sweets, but when I bake these, she can single handedly disappear them all! I think another reason why she likes these macarons so much is because they have a distinct Japanese flare. Matcha (green tea) and adzuki (red bean paste) are quintessential components of many Japanese desserts.
For anyone who would like to make these delightful green morsels, I give to you the recipe. I originally found it on foodgawker.com, but the recipe is ok. Sort of vague. I have modified it to make it easier to follow. I've also included step by step instructions with pictures.
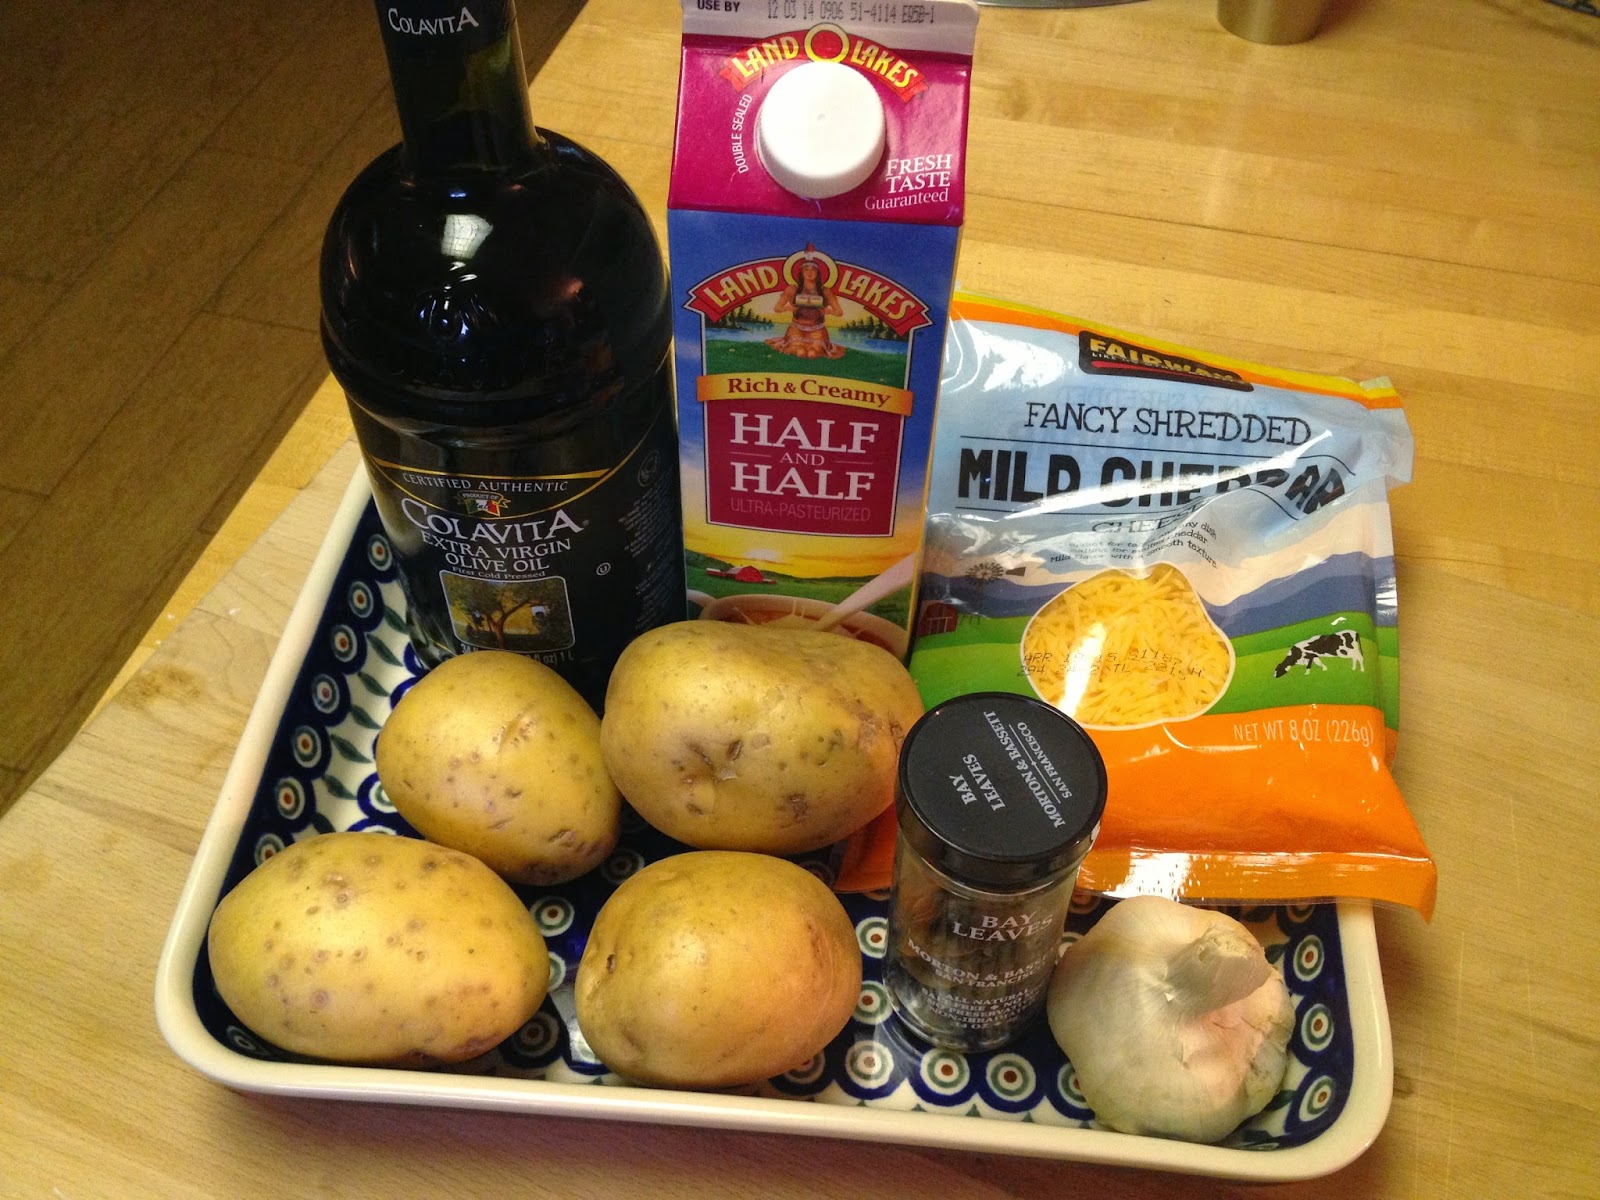
Ingredients:

For Shells:
- 200 g powdered sugar
- 110 g blanched, slivered almonds
- 1 tbsp high-quality match powder
- 90 g egg whites (3 eggs)
- 30 g fine granulated sugar
For Adzuki Bean Filling:
- 4 oz cream cheese
- 1/2 can of adzuki bean paste (red bean paste)


How to Make the Macaron Shells:

1. Carefully measure out your ingredients. Macarons are really delicate and complex, so precision is key.

2. In batches, add the powder sugar, almonds, and matcha powder into a food processor. Blend into a fine powder.

3. Take the powder from the food processer and put it through a sieve. This will give you an even finer powder.

You will get these large clups at the bottom of your sieve. You can either return them to the food processor, or throw them out. It's up to you.

4. In a separate bowl, beat the egg whites with a mixer on high. Gradually add the granulated sugar.

Beat the egg whites and sugar until you get a thick meringue. Total time is about 5 minutes or so?

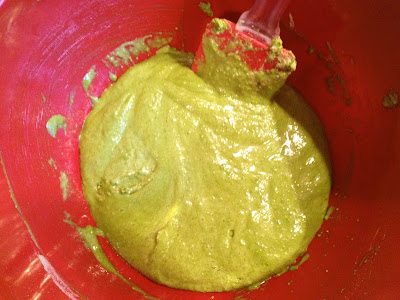
5. Add half of the dry ingredients into the meringue. Using a spatula, fold the dry mixture into the meringue. Be gentle. Add the rest of the dry ingredients. Make sure to mix so that no white or powder streaks remain.

Once everything is combined, you should get this slime looking concoction.

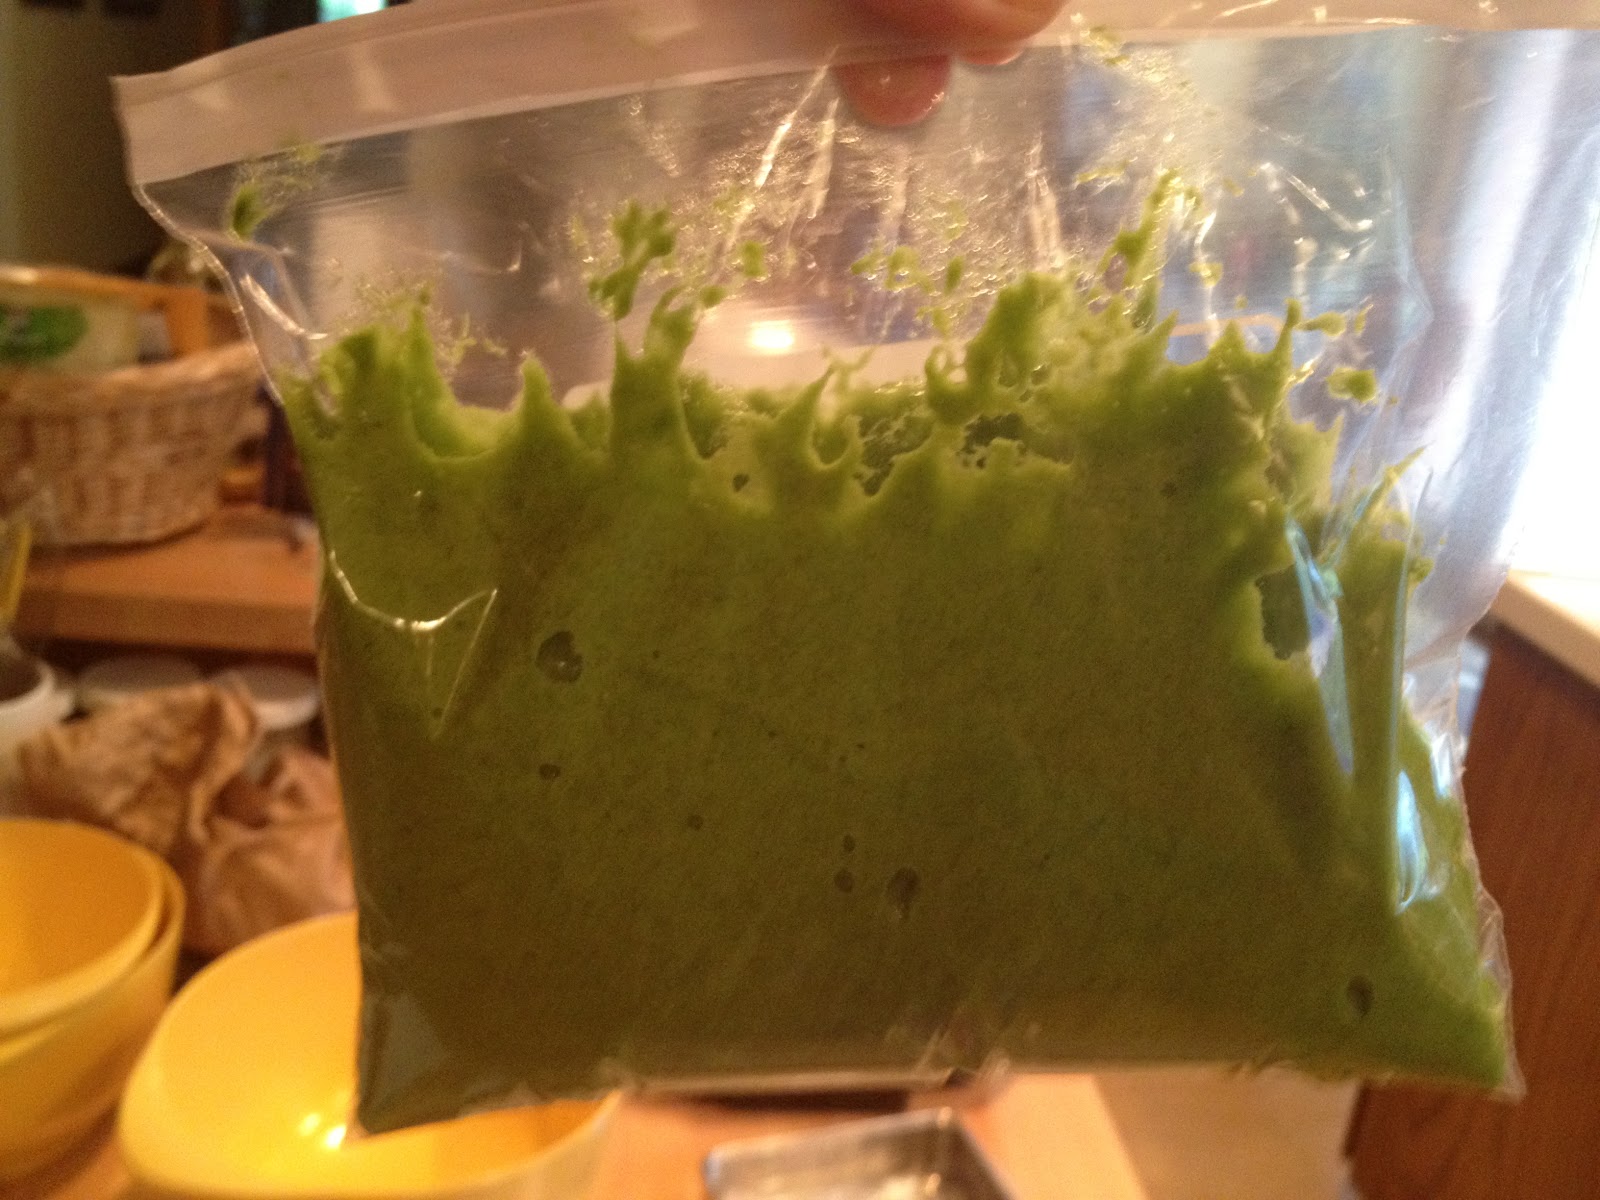
6. If you don't have a nice professional baking bake to pipe the batter through, you can improvise by using a ziploc bag. Just cut a small tip at the end of the bag when all the batter is in. Alternatively, since my bag ended up being too small, I used a syringe. Yes, a syringe. It worked marvelously.

7. Prepare a baking sheet. I wanted macarons templates, so I went to google and searched "macaron baking templates." It worked like a charm. I placed the template in the pan and then my silicon baking sheet on top. You can also use baking paper.

8. Pipe out the batter onto the baking sheets.

9. Let the macarons sit for 20 minutes. Also, it helps to bang the pan against a table. This allows any air bubbles to escape, as well as even them out. While the macarons sit, preheat your oven to 300F.
10. Let the macarons bake for about 10-12 minutes, depending on your oven. Essentially, you want your macarons to be hard when touched, but not brown. To be honest, for the best result, I would suggest watching them.

11. Remove macarons from the oven and allow them to cool. Using a template for 1.5 in round macarons, I managed to make a total of 64 macarons!
12. Once cooled, assemble macarons with filling and enjoy!
For the Filling:

1. Place the cream cheese and adzuki paste in a bowl.

2. Using a mixer, blend.


Comments
Post a Comment